
View Data in a table format and prepare data for visualization tools.
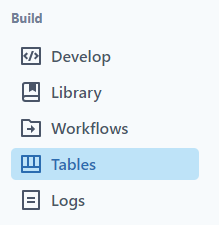
To view the data as a table, select table under Build in the Navigation Column.
There are two types of tables in PetroVisor:
- Pivot Tables: Pivot Tables are a valuable tool for consolidating and organizing vast quantities of data into a format that is user-friendly and easy to comprehend.
- Reference Tables: Reference Tables are a collection of key-value pairs that are linked to an entity, but they are not necessarily tied to a specific timestamp. The key and value columns in a reference table can have units associated with them, which makes it easier for automatic unit conversion to take place.
This article will guide you through the following topics:
Saving Reference Table Data from a P# script
View a Table
Search

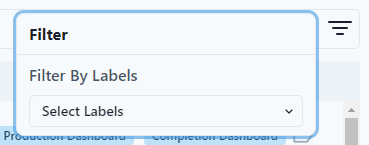
Filter
Select a Table

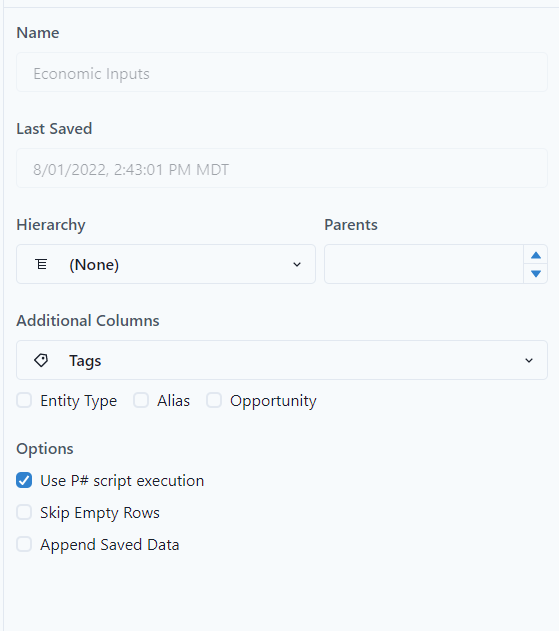
After selecting a table, the user can see different information.
- Name - name of table
- Last Saved - date last saved
- Hierarchy - hierarchy used in table
- Parents - parents of entity if applicable
- Tags - classified events of a specific entity
- Entity Type - table will populate entity type
- Alias - table will populate alias if applicable
- Opportunity - table will populate true if entity is an oppurtunity
- Options
- Use P# script execution - use a script to execute the table
- Skip Empty Rows - skip rows that are empty
- Append Saved Data - append data with a later start date than the original start date, also works for steps per increment to generate tables with large sources of data
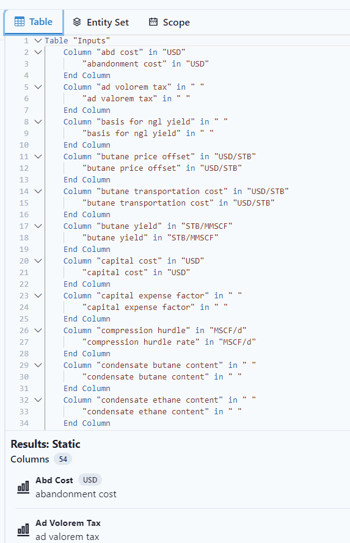
The user can see the table code
The Entity Sets associated with the table along with a map to visualize the location.

The Scope of the table

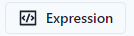
The Expression Builder is available to quickly build expressions.
The user can also load prebuilt tables and modify as required.
Create a new Pivot Table

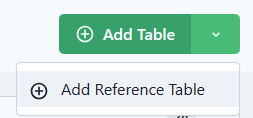
To Add a table select the green Add Table button on the top right.
Name the Table.

To create a table, three sections are needed, Table Columns, Entity Set, and Scope.

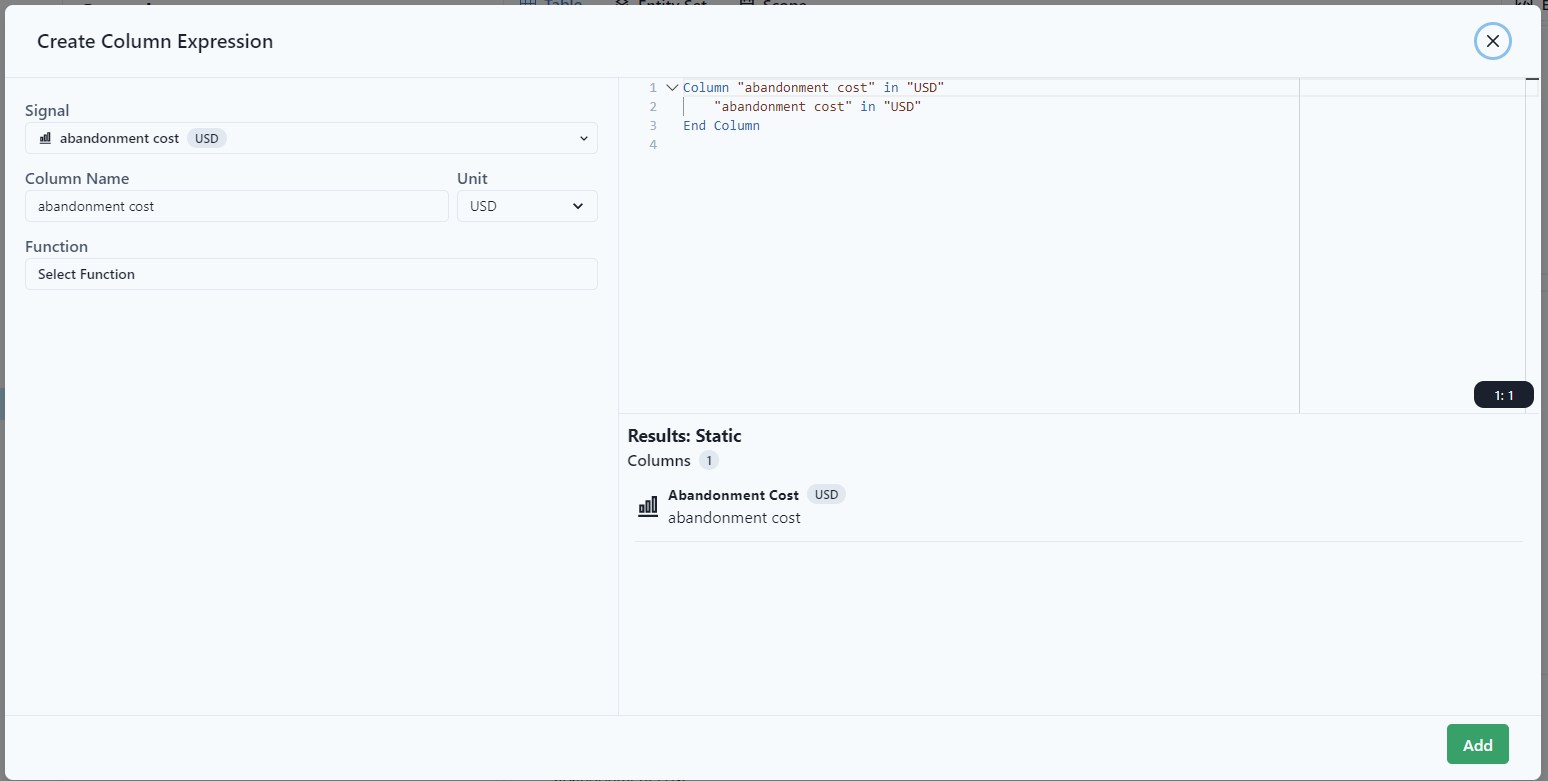
The table columns can be typed to built using the Expression Builder. The Expression Builder is on the top right of the screen.
For each column, add the expression. The example below shows adding the well name as a column.

Select Add Expression to add. 
Continue to add expressions. The table below shows Well Name with Latitude and Longitude.

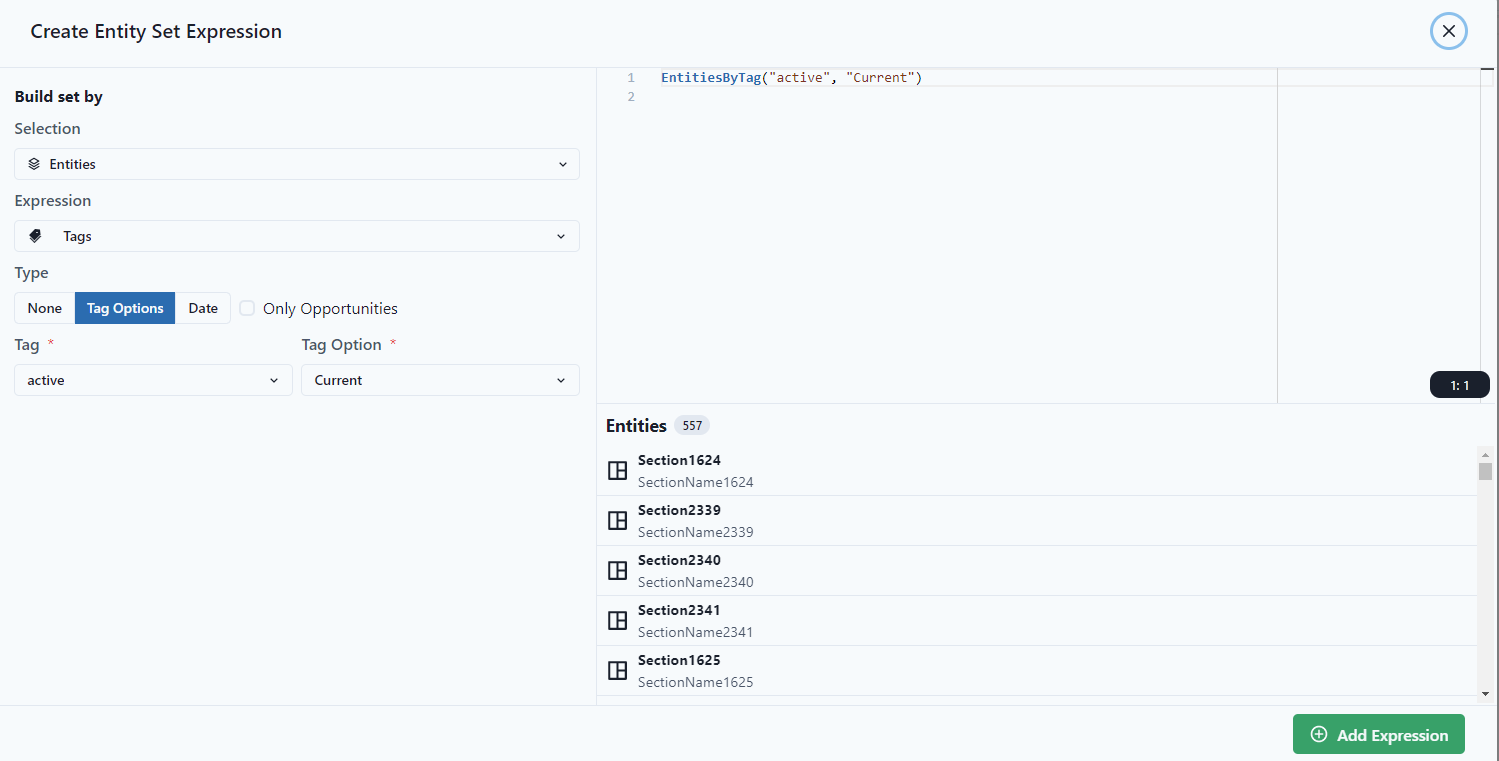
Select the Entity Set. The example below shows all active wells from the expression builder.
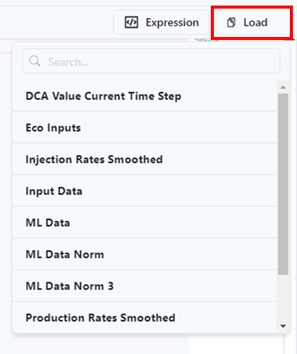
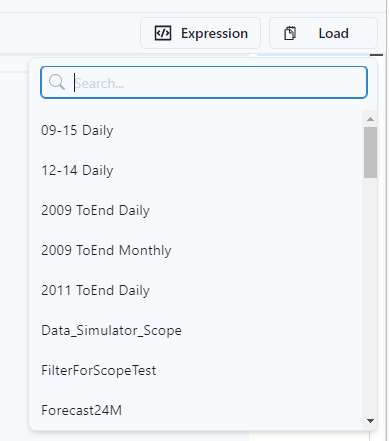
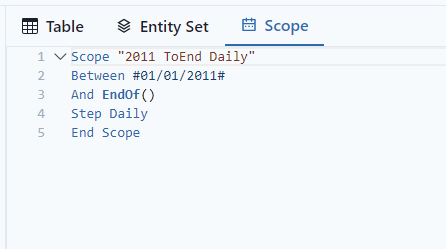
For the Scope, Expression builder or load can be used. The example shows "Load."
Notice after selecting it populates the scope.
Select Save to Save the Table.
Select Save & Generate to save the table and view it. 
To view, select View Saved.

Create a New Reference Table
To create a new table, go to the Tables section and click on the dropdown menu for Create Table.
Once you have named the reference table, you can proceed to fill in the columns. Make sure to add the necessary columns as needed.

Note: The Reference Table Definition is added to the entire workspace, but the key-value pairs stored in a reference table will be associated to individual entities. To create a general collection of key-value pairs that will be associated to the entire workspace, create a Workspace Dictionary instead.
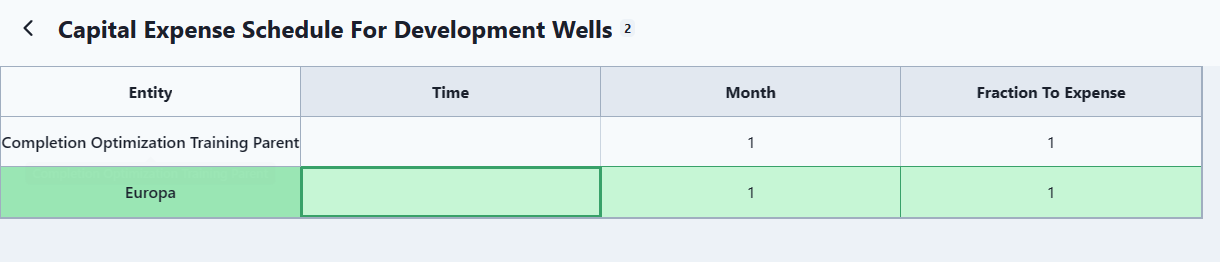
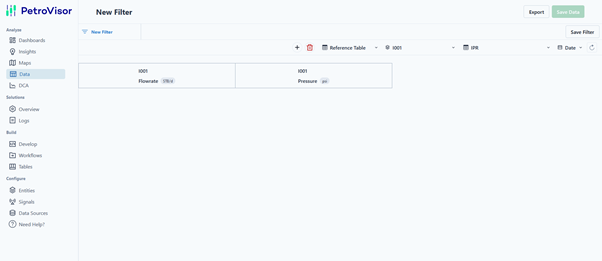
Manually entering Reference Table data
To manually enter data for a reference table
- navigate to the Data page
- change the mode to Reference Table
- select an entity, a Reference Table Definition and optionally a timestamp
- add new key-value-pairs to the reference table by pressing the add row button (+)
- to remove a row, select the row and press the delete row button (trash can)
- when finished adding/removing data, click the green "Save Data" button in the upper right.
Saving Reference Table Data from a P# script
To save data to a Reference Table from P# simply add a saving-clause to the table definition.
Mind the following conventions/restrictions:
- Order doesn't matter from the Table to the From (). Meaning that they don't need to be in the same order.

Reference Table related P# functions
TableValue()
Returns the value of the reference table at the given key. If the key is not available in the reference table, the value will be interpolated from the two nearest available key-value-pairs.
TableKey()
Returns the key for the specified exact, interpolated or extremum (min, max) value. If the specified condition is satisfied more than once, the first key is returned.
TablesIntersection()
Returns the point of intersection of the two specified Reference Tables for the current entity. Supported intersection return values are: “Max Key”, “Min Key”, “Max Value”, “Min Value”.
TableValueAggregated()
Returns the aggregated value of the Reference Table for the current entity. This function also features an overload to calculate the slope at a given key of the Reference Table.
RefTableValueAsString()
Returns saved value of the specified reference table for specified entity and specified time stamp option for specified value column.
RefTableValueAggregatedAsString()
Returns aggregated value of the specified reference table for specified entity and specified time stamp option for specified values column using optional filter expression.
RefTableArea()
Returns the area of the polygon, defined by columns of a reference table.
RefTableSlope()
Returns the slope at the given key of the specified reference table for specified entity and specified time stamp option for specified value column.
RefTableKey()
Returns the key for specified exact, interpolated or extremum value of the specified reference table for specified entity and specified time stamp option for specified value column.
RefTablesIntersection()
Returns intersection value of 2 specified last reference tables for current entity.
Supported intersection return value (case-insensitive, with or without spaces between words):
Max Key, Min Key, Max Value, Min Value