Workflows are easily managed through "Workflows" under build. They pull in P# scripts and other external scripts (i.e. "R") to work in sequence.
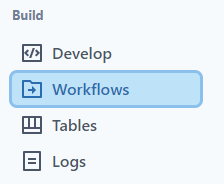
After logging into a Workspace, Select "Workflows" under the "Build" category.
It will display a list of workflows to select or create a new Workflow by selecting "Add Workflow."

Select "Add" or drag the scripts desired for the workflow. The workflow will operate in the sequence the scripts are put in.
Workflow descriptions can be found by hovering over the note icon in the list view.

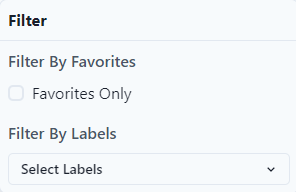
Workflows can be filtered by Favorites by simply putting selecting a star next to the workflow. Favorites are stored at a Workspace level.
The type of information that can be pulled into Workflows are
- Data Integration Sets
- P# Scripts
- Pivot Tables
- R Activities
- Machine Learning Models
- External Activities (e.g. Python Scripts)
- Web Activities
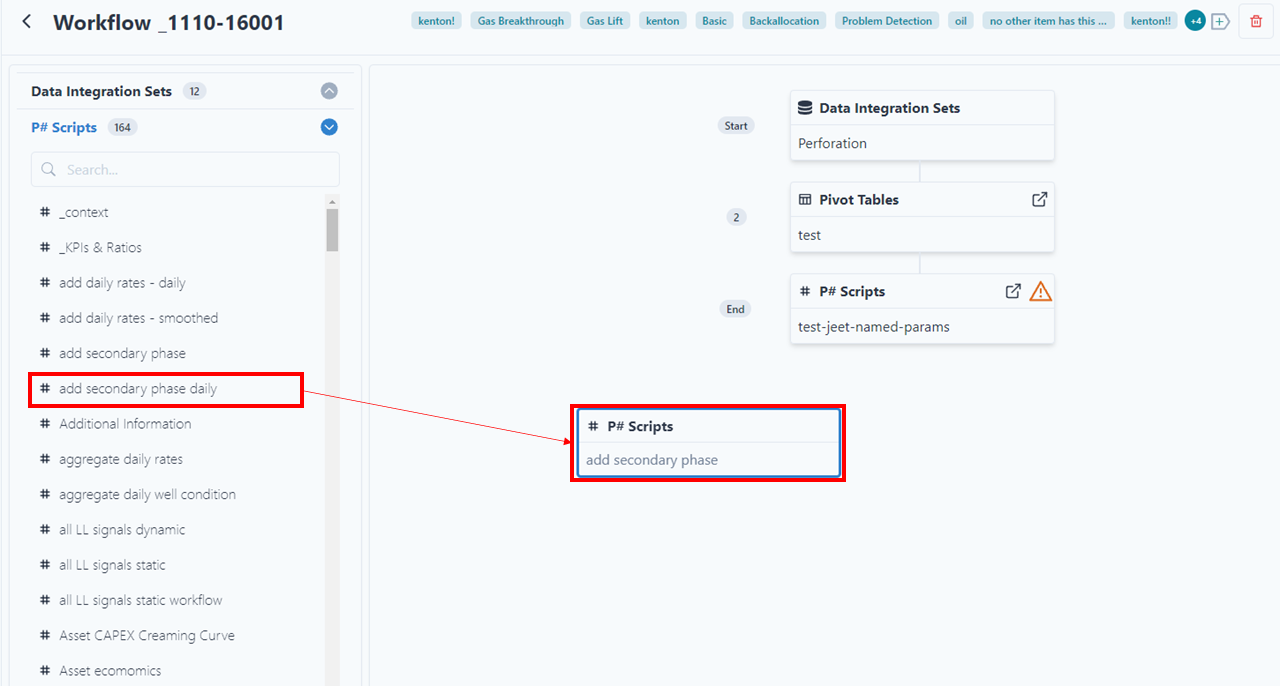
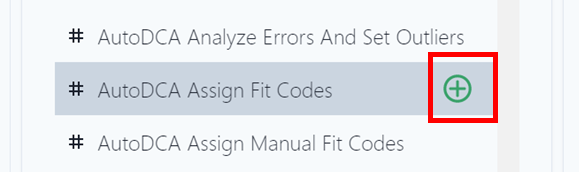
The user can also add the script by clicking on the green plus button.
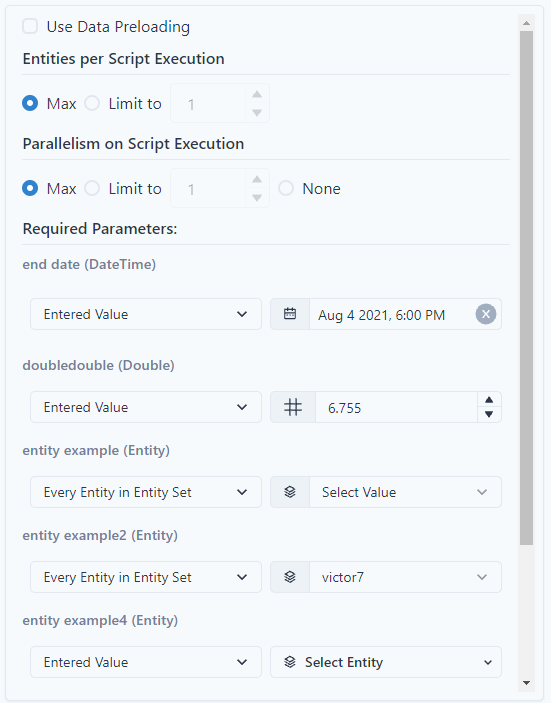
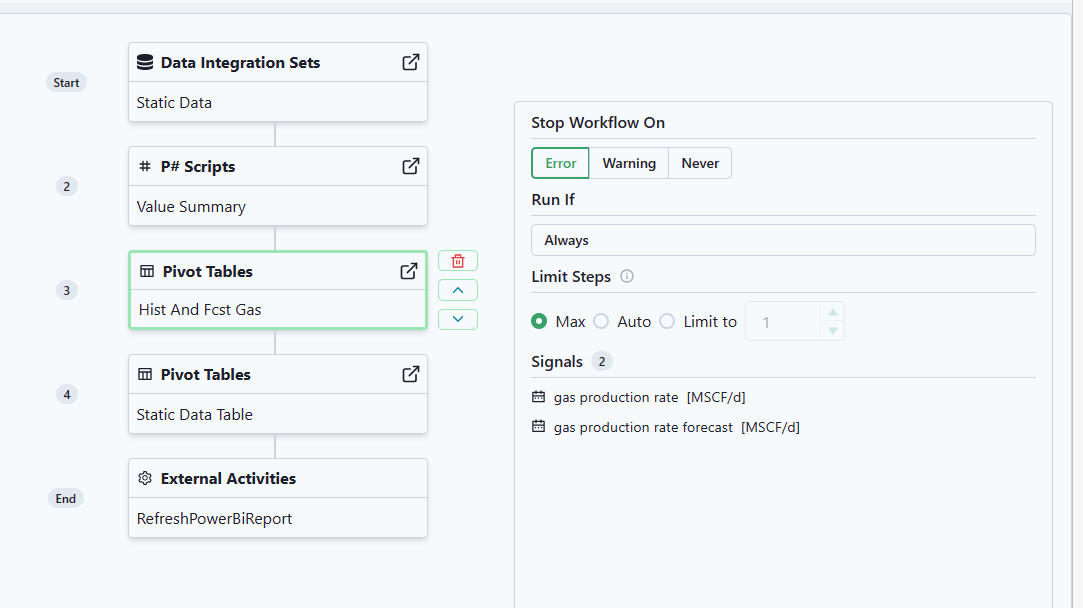
Clicking a P# script in a workflow will display the Workflow Script Settings. The script settings let the user specify the execution properties for the script as well as fill in required parameters.
Notice that some Workflows scripts have the option of Scenario Options. The example below shows running on two (2) different Commodity Prices. Multiple scenarios can be looped through. After selecting the scenerio, select the data used in the scenario.
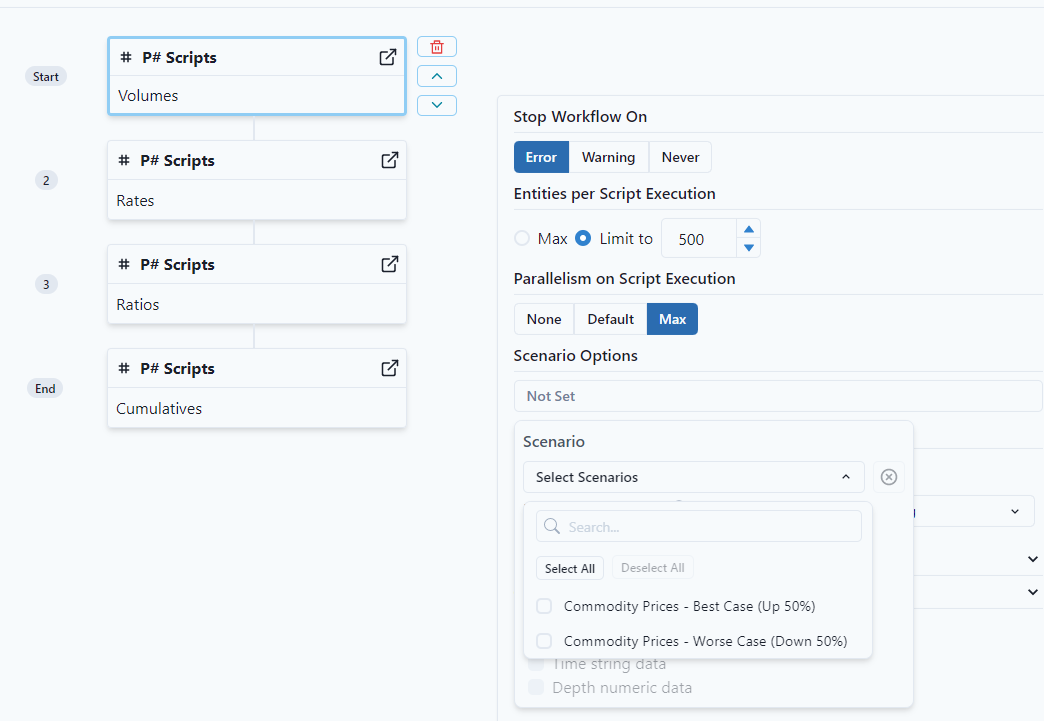

Also notice the Stop Workflow on Error, Warning, Never.
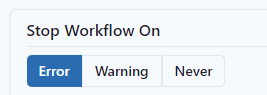
If the workflow fails,
- Error - Stops the workflow
- Never - the workflow will continue to run (notice results might be skewed)
Click the green "Save" button to save the new workflow.
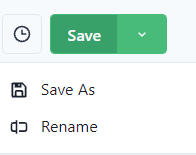
Add labels to the workflow by clicking  next to the save button or on the Workflow home screen next to the Workflow Scheduler.
To schedule workflows, see the knowledge base article for Workflow Scheduler.
Limit Steps
"Limit Steps" is similar to "entities per Script Execution" except instead of separating the entity set into into parts, it separates the (time) scope.
- when using MAX, the platform will process the entire scope at once.
- when using AUTO, the platform will slice the scope based on some best practices.
- when using LIMIT TO, the platform will slice the scope into chunks of the specified size (e.g. a 3 year monthly scope with limit 12 will be split into 3 chunks of 12 months each).
Runs
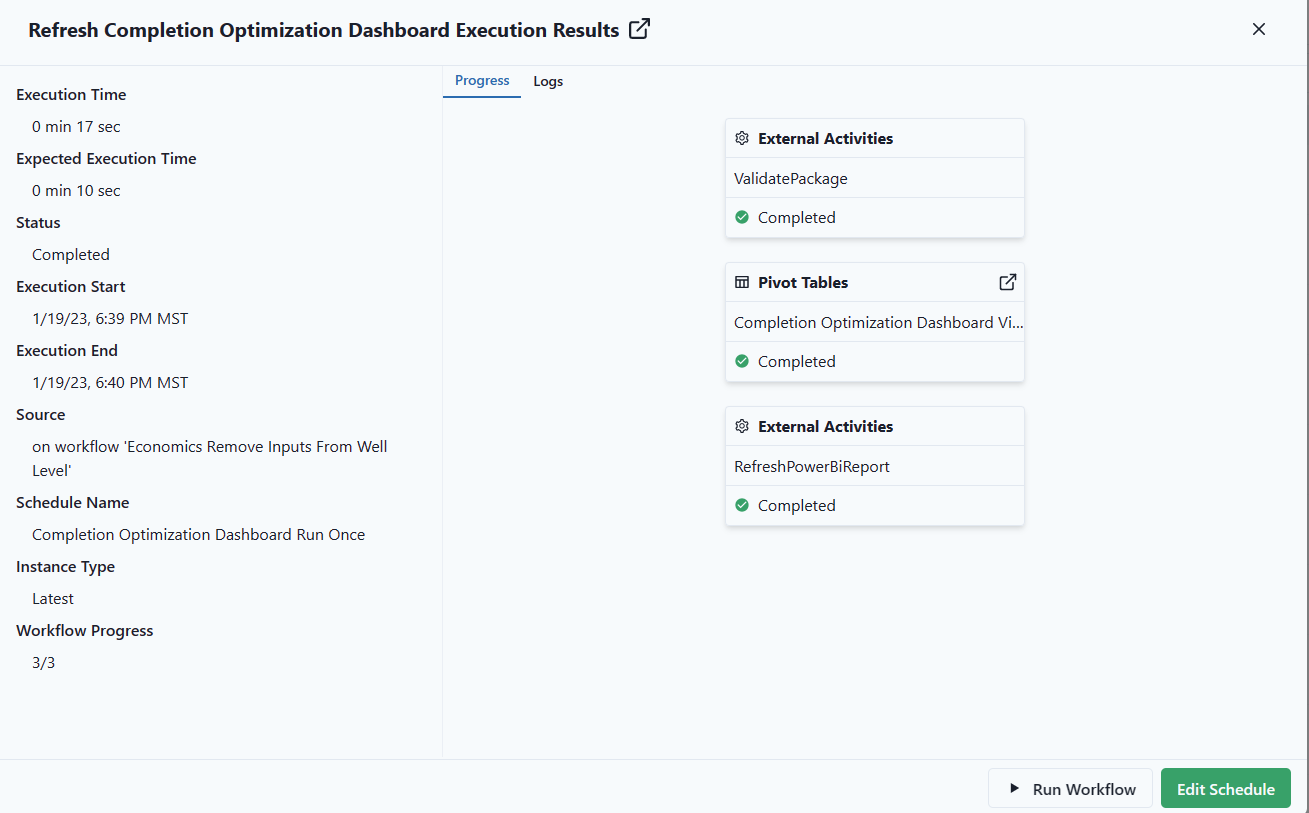
Progress for workflows is on the Runs Tab.
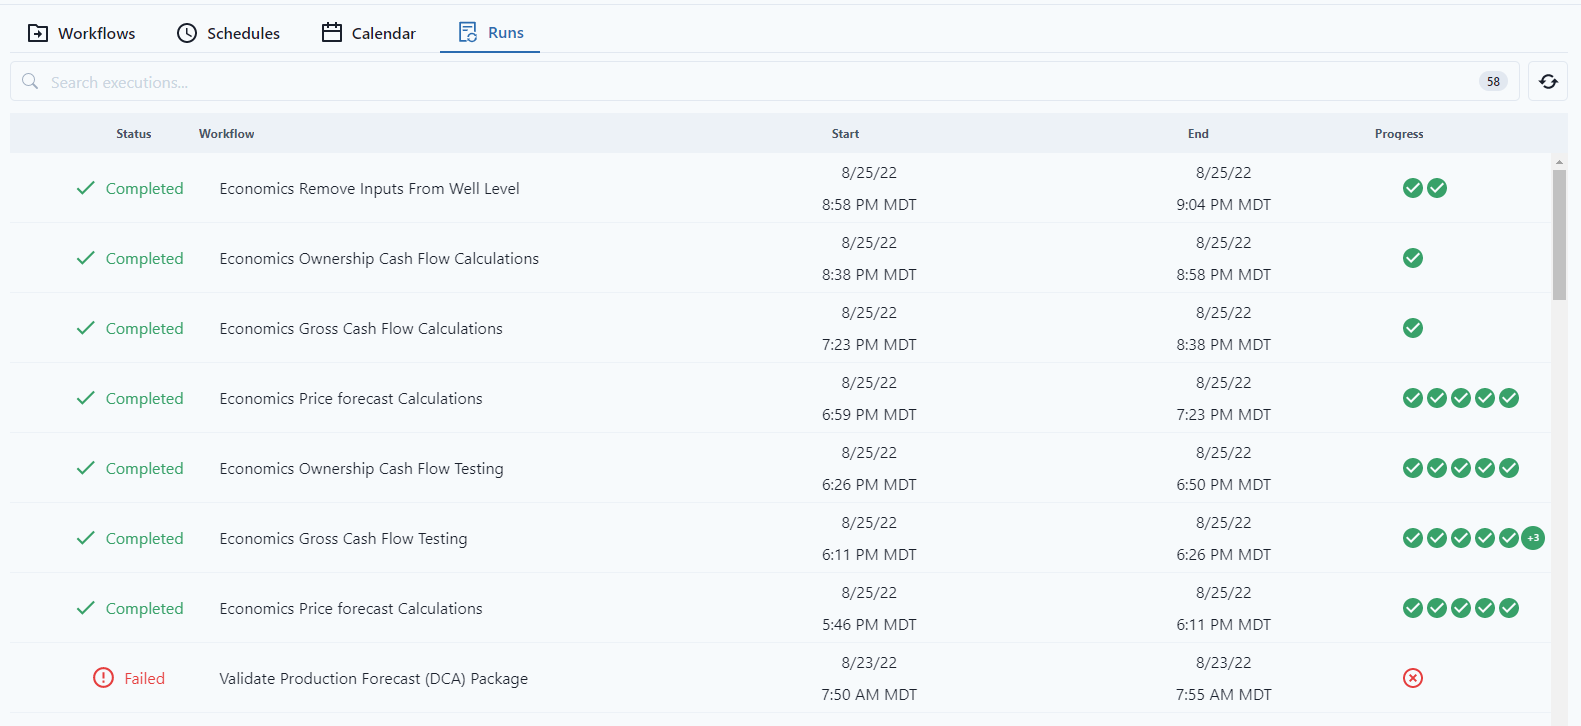
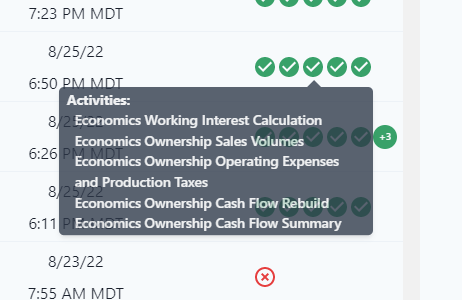
Hovering over the check marks will show which activities are associated with the workflow.
Clicking on the workflow status gives a more detailed view of the execution status. Notice the user can "Run Workflow" or "Edit Schedule" directly from this screen.